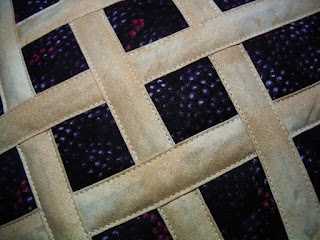
Pie! Well a potholder that looks like a pie. I saw this online from another blogger and was really excited to make my own. I fell in love with this blackberry/marionberry fabric and this was the perfect idea. Also a great gift idea for the upcoming holidays, I was planning on pairing these with a jar of my jam.
Now that we all know how to make bias tape from my previous post the rest will be easy.
First off I want to share this really awesome cutting mat that I would highly recommend for this project.
It swivels which is perfect for cutting out circles.
Below: I got this acrylic circle from a friend whose husband made them. It's a 9" circle just the right size for a pie. You can use anything round and trace it but with the acrylic I can use my rotary cutter which I love since I'm making quite a few.
With this mat I'm able to keep turning it to cut without disturbing the work in the center. Love it!
I used this template to cut out my berries and my crust back. I got easily 16 circles per yard of fabric.
Next I cut out the circles from the batting and insul-fleece. Since batting and fleece stick to your mat when using a rotary cutter I cut these out but hand but used the already cut pie fabrics as my templates.
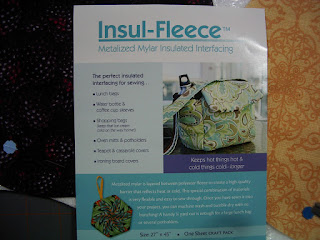
I was able to get exactly 15 circles out of the package of insul-fleece which measures 27" x 45"
Naturally I saved my scraps since this stuff seemed kinda pricey. For the batting I used leftovers from a quilt I'm working on. Since the back of the insul-fleece suggested for potholders using a layer batting my little quilt sandwich has four layers: back, insul-fleece, batting and pie top.
Next to add the pie lattice! That is after all what all the bias tape making was for... I used these clips at first because I was having trouble getting pins to pierce through the layers ( I suspect the insul-fleece to be the issue)
Then I tried some fine .45 pins for sheer or lightweight fabrics, but were actually the only pins I had that worked and would go through the layers smoothly without distorting my potholder.
Here's the package.
Next to sew down the woven lattice of bias tape. I like to use a foot with some kind of guide to sew along and set my needle to sew just inside that edge ( or here just to the right of center)
I back-stitched and skipped the parts were the bias tape overlapped and then clipped these threads with my embroidery scissors.
Here's our pie so far, it's almost done!
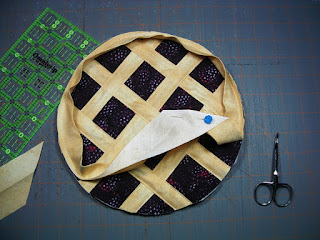
Now to pin on the binding, for this project I used the bias tape I made (since I made way too much) and here's how I attached it. I opened one side and pinned all the way around.
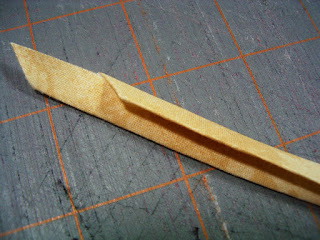
Where the tape began to overlap I clipped it at ¼" ( this I just eyeballed)
Then I used my ruler to cut the rest of the way on the 45° angle.
Join the two pieces just like the tutorial on how to join bias strips together.
Re-pin all the way around.
Next I like to sew just to the right of the fold line.
Make sure to attach your tab now if you want to add one. Mine is again made of the same bias strip just folded in half and stitched down the open side. I used a 4" piece for my tab.
I like to sew over it several times to make sure it's secure (even though I know it's not a load bearing tab.)
Flip your bias tape over to the back and stitch down. ( I like to do this step by hand)
And you're done!
I hope you all enjoyed this I plan on making lots of these for gifts this year and I'm even thinking maybe next year I'll do a different flavor (berry or fruit) so someday there will be a whole collection.
Thanks for reading♥


