Monday, November 26, 2012

Bats!

I know it's way late for anything Halloween but I have a friend who loves Halloween and this is perfect for her birthday. I saw this tutorial and had to try it, she has great instructions. The only thing I changed was the amounts of fabric for group A and B. I wanted to have my color groups checkerboard so I did 14 for group A and 13 for group B Here's a photo of my finished block.
My only nit pick is that my block didn't square up to 18½" as she suggests in step #10. My block fell just shy and I'm not sure if this is from some of the stretch in the fabric or perhaps each vertical seam should be sewn with a scant ¼" seam. I prefer a little wiggle room to square these things up.
I was planning on making this into a pillow for my friend and an 18" pillow form would have worked perfect but now I'm not sure I can make it fit. I will most likely make another one of these blocks and I will definitely adjust my seam allowance.
Thanks for reading♥

Thursday, November 8, 2012

Pinning my next quilt

I've pinned my next quilt which will probably be called falling leaves. It's not terribly big It almost works as a tablecloth for our dinning table which seats 4-6 but it's a tad short at one end. This time when I laid out the layers my backing first and then batting I made sure to smooth things out really well before adding my quilt top. Using my curved safety pins I pinned generously about every 5-6 inches. I was very happy when I removed my quilt from the table to see how smooth and un-bunched the back was. Using my dinning table was a very easy and rewarding method this is the second time I will have basted my quilts this way and I am pleased with the results.
 I apologize these photos are kinda blurry there's not very good natural light in the dinning area.
 Here I had to take some photos under my lamps at my sewing table so you can better see.
 And here's the back all nice and smooth.
I can't wait to start quilting this one...
Thanks for reading♥

Sunday, November 4, 2012

Delectable Mountains Quilt

Finally finished.... It's been awhile since I have fully finished and completed a large quilting project, and it feels good. The finished size is 84" x 84".


 I wish I had a better place to photograph the whole quilt but this was the best spot with natural light.
Sorry my photos only show sections I haven't figured out a way to hang and photograph my whole quilt. 
Any ideas?
These next two were taken on my worktable under my daylight lamps.

But wait there's more... I made a little quilt to match, which is just 40" x 40" 

Still to be completed I have a single pinwheel 20" which I was going to make into a matching pillow. When I've completed this I will add the photo. 

So I don't know what to call this quilt and I'm not even sure the correct name for the pattern but what I have come across in my searches is delectable mountains. I know I first saw this quilt or one like it on the cover of a magazine years ago and knew I had to make one myself. I figured at the time that I could easily figure this pattern out and for the most part yes, after all it's just some triangles of varying sizes put together. I should have purchased the magazine at the time because I have never been able to track it down since and I'm sure their instructions would have saved me a lot of time and errors. As simple as triangles can be at the time I didn't realize how much stretching and distortion can happen with all those bias edges. Over all I love this quilt flaws and all because when you admire the bigger picture they don't seem to matter much. And at the end of the day when a loved one snuggles under their brand new quilt, happy and content with their handmade treasure that's all that really matters.
Thanks for reading♥

Thursday, November 1, 2012

Bias Tape continued

I found another bias tape maker on one of my trips to Joann's they had a limited selection in the store but have other brands and size options on their website. In store they carry the Dritz brand found in the quilting notions section.
Here's the one I got.
It definitely looks different than the one I currently have seen in this post.


I decided to try it out...
 At first my results were a bit disappointing this certainly doesn't look very even.
 But I fiddled with it a little more...
 And I'll say that it came out okay.
I definitely see room for improvement either in my patience and skills or these devices. I still really like the paper bias tape make from my earlier post. I think the reason is the extra guides after your fabric has been turned that keep it even so you can iron it down, I think I might try a combination of metal and paper guide next time I make a lot of bias tape.

Has anyone tried the Clover brand bias tape makers? I'm curious how or if they differ any from the Dritz brand Nancy Zieman has a set and a video. Her's come out so perfectly and even how does she do it?
Thanks for reading♥

Monday, October 29, 2012

Pie Potholders

If you were wondering what prompted my bias tape making obsession here it is....
Pie! Well a potholder that looks like a pie. I saw this online from another blogger and was really excited to make my own. I fell in love with this blackberry/marionberry fabric and this was the perfect idea. Also a great gift idea for the upcoming holidays, I was planning on pairing these with a jar of my jam.

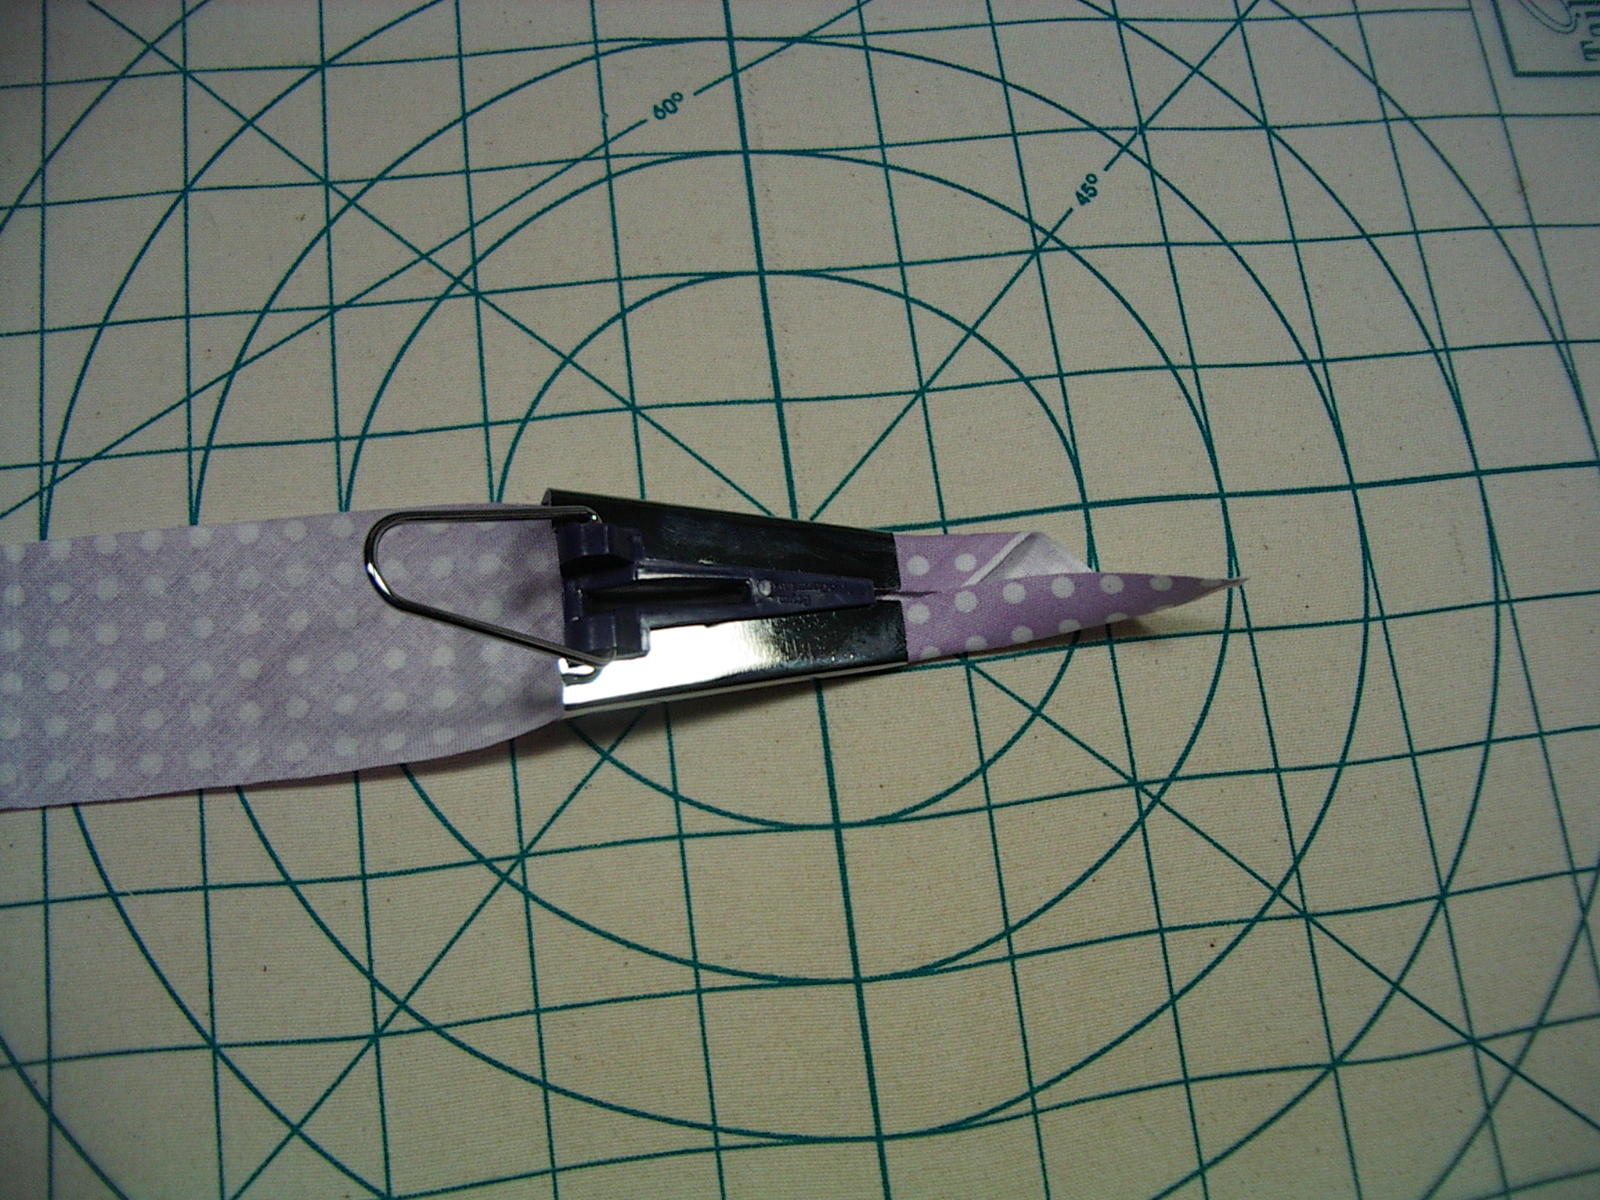
Now that we all know how to make bias tape from my previous post the rest will be easy.
First off I want to share this really awesome cutting mat that I would highly recommend for this project.
 It swivels which is perfect for cutting out circles.
Below: I got this acrylic circle from a friend whose husband made them. It's a 9" circle just the right size for a pie. You can use anything round and trace it but with the acrylic I can use my rotary cutter which I love since I'm making quite a few.

 With this mat I'm able to keep turning it to cut without disturbing the work in the center. Love it!
I used this template to cut out my berries and my crust back. I got easily 16 circles per yard of fabric.

Next I cut out the circles from the batting and insul-fleece. Since batting and fleece stick to your mat when using a rotary cutter I cut these out but hand but used the already cut pie fabrics as my templates.

I was able to get exactly 15 circles out of the package of insul-fleece which measures 27" x 45"
Naturally I saved my scraps since this stuff seemed kinda pricey. For the batting I used leftovers from a quilt I'm working on. Since the back of the insul-fleece suggested for potholders using a layer batting my little quilt sandwich has four layers: back, insul-fleece, batting and pie top.
Next to add the pie lattice! That is after all what all the bias tape making was for... I used these clips at first because I was having trouble getting pins to pierce through the layers ( I suspect the insul-fleece to be the issue)

Then I tried some fine .45 pins for sheer or lightweight fabrics,  but were actually the only pins I had that worked and would go through the layers smoothly without distorting my potholder.
Here's the package.

Next to sew down the woven lattice of bias tape. I like to use a foot with some kind of guide to sew along and set my needle to sew just inside that edge ( or here just to the right of center)
 I back-stitched and skipped the parts were the bias tape overlapped and then clipped these threads with my embroidery scissors.

Here's our pie so far, it's almost done!
 Now to pin on the binding, for this project I used the bias tape I made (since I made way too much) and here's how I attached it. I opened one side and pinned all the way around.
 Where the tape began to overlap I clipped it at ¼" ( this I just eyeballed) 
 Then I used my ruler to cut the rest of the way on the 45° angle.
 Join the two pieces just like the tutorial on how to join bias strips together.
 Re-pin all the way around.
 Next I like to sew just to the right of the fold line.
 Make sure to attach your tab now if you want to add one. Mine is again made of the same bias strip just folded in half and stitched down the open side. I used a 4" piece for my tab.
 I like to sew over it several times to make sure it's secure (even though I know it's not a load bearing tab.)
 Flip your  bias tape over to the back and stitch down. ( I like to do this step by hand)
And you're done!
I hope you all enjoyed this I plan on making lots of these for gifts this year and I'm even thinking maybe next year I'll do a different flavor (berry or fruit) so someday there will be a whole collection.

 I decided to try adding regular bias binding that I would put on my quilts so that these would have the strength of double layers of fabric folded over the edge. It worked perfectly!


Thanks for reading♥

Thursday, October 25, 2012

how to make bias tape

My previous posts have covered cutting and sewing for bias strips and today I'm going to cover how to make bias tape. This is where you essentially fold over the edges on either side of your bias strip to encase the raw edges.
This is single fold bias tape
 and this is double fold bias tape
For the double fold bias tape you simply iron in half the single fold. It's that easy. The hard part is making the single fold bias tape to begin with. Your dealing with stretchy bias cut fabric and no it does not play nice with the iron. Which brings me to the first method which is to iron the old fashioned way by hand. Yes that's right by hand which if your anything like me will drive you nuts because the results are so inconsistent and it would take for-ever.

The second method involves a metal tool which I'm guessing has been around for ages but has perhaps had some improvements. I had one such tool lying around and mine looks like this.
 The newer bias tape makers look quite different from the back and seem to have a flat tip on both the top and bottom of the unit. If you search these tools you'll see the difference. 
Nancy Zieman has a video on how to use this tool, and for her it works perfectly (hers being the newer version perhaps). Anyways I could not get this to work for me and to top it off this was not the right size. Also these cost anywhere from $6 to $15 depending on the size you get, if the new ones work and you make a lot of bias this would be worth it. I'm curious if the newer styles work better.

So that Idea scrapped I found online another method promising an easy no cost method. Place pin in ironing surface making a gap the size of desired tape and simply pull through. WRONG! This takes the old fashioned ironing by hand method and basically gives you a helping hand but you still end up with sloppy inconsistent work. Is it too much to ask for prefect results.

Then lastly I wandering onto this blog scientific seamstress science + sewing = perfection. This lady is just awesome she created this wonderful device that I would buy in a heartbeat and she is offering it to her readers for free. Here's the link to her bias tape maker. It worked wonderfully with perfect results and was worth the effort of assembly and as I said I would buy it in a heartbeat.

Here's how it worked for me.
Honestly I was a little doubtful and thought it would be super complicated but really it was super easy 4 pieces and I used "terrifically tacky tape" for paper crafting instead of glue (since I can be inpatient) and it worked wonderfully. If you are looking to make bias tape try this you won't be disappointed.

What methods have you tried and which do you prefer?

Thanks for reading♥