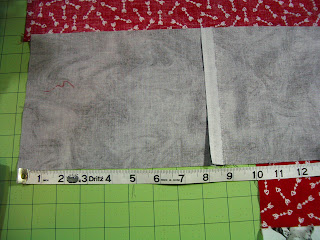
First off you will determine the width you want your border(s) to be I did 2 borders one 3" and the other 6" this makes my finished borders 9". Next you'll need to figure out how long you need to cut these borders. My quilt before the borders is 72" you will add 2x the width of your borders plus 2. so I will add 72 + 9 + 9 +2 = 92. This formula does not allow for error so if you are concerned about that you may want to buffer it a little with a few extra inches.
Next sew your border fabrics together...
here's my borders sewn together.
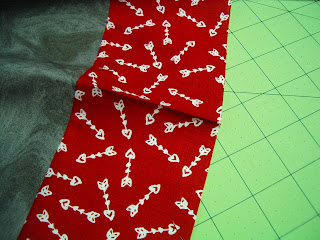
Next you'll want to fold your border strip in half width wise to get the center. Below you can see I ironed this spot to mark it, but you could mark with a pencil.
Then I lay that fold(or mark) on the center line of my quilt. Since my project is 6 blocks by 6 blocks I simply match my mark to the seam where block 3 and 4 join.
Now I pin from that center mark outward.
You will now sew on one side of your borders. Make sure that when you are sewing on the borders that you leave a generous ¼" at the beginning and end where it attaches to the quilt Note your border strips will hang over the edges of your quilt. Mine hangs over about 10" that's part of the extra 9 + 9 + 2 that we added.
Remember your overhang will be different depending on the width of your borders.
Below is a quick photo of the ¼" space I left before starting my sewing remember to leave this at the beginning and end. Do this for all sides of your quilt.
Now when you have finished sewing on all your borders find a corner and line up your borders by taking 2 sides and placing them right sides together lining up your border fabrics. See below.
You will have to fold the main body of the quilt at a 45° angle. You can also see this with the ruler I used the diagonal line in this square ruler to help me mark the 45° angle in the border section. You will then sew along your marked line.
Cut ¼" away from your sewing line and open up your corner, it should look something like this.
Voila a mitered corner.
Thanks for reading♥


No comments:
Post a Comment