
First off you can make your triangles any size you want particularly if you just want to cut and sew a bunch of them together many people call this a thousand pyramids quilt. This is also a very simple tessellation.
Here's the block I'm going to show you.

For this block I'm starting with a 5" strip of fabric for my base(center) traingle which will make the sides of my triangle 5¾"


As I said before you could cut up a bunch of these(any size) and make a thousand pyramids quilt.
To make this bordered block I took strips of fabric(which could be any width) mine were 2½" wide because that's what I cut my scraps into. I cut my strips 8¼" long. For one block you need 3.

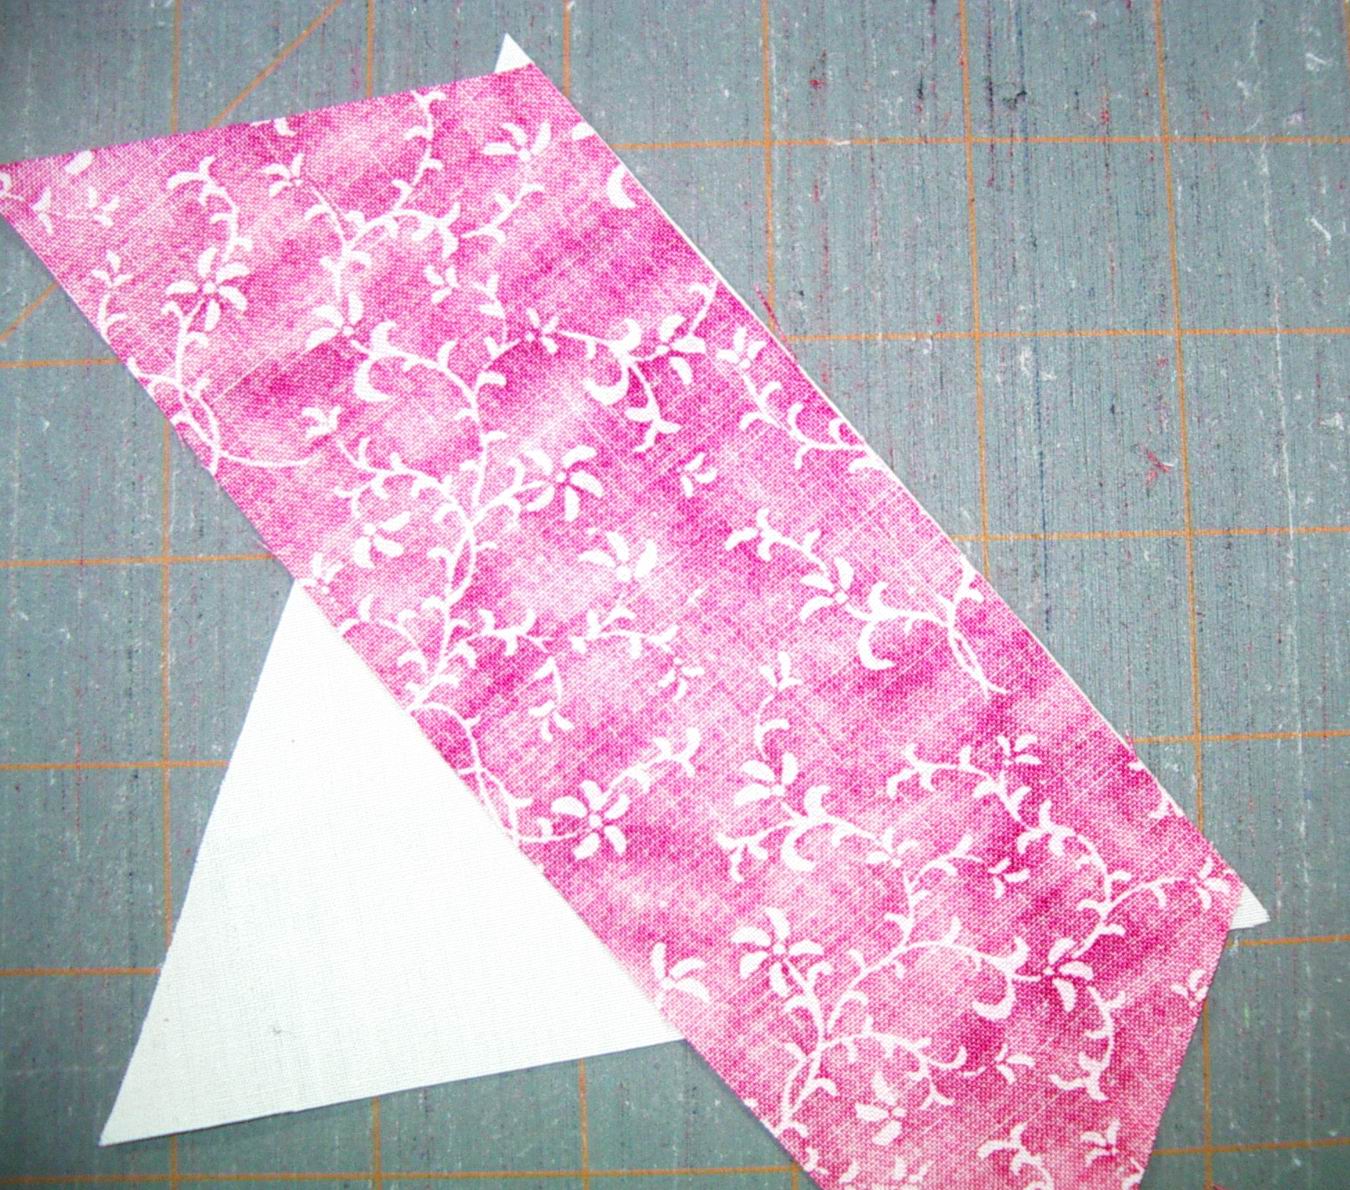
Next taking my handy 60° diamond ruler I cut each end.

To get the mirror image for the other side of the strip I flipped over my fabric wrong side up. I suppose you could have folded your strip in half and only had to cut once; I'll have to remember that when I make more.

Next I used a fabric similar to my center triangle for the little diamonds. these strips were also 2½" wide and I just used that handy 60° ruler again this time cutting every 2½"


Now were ready for assembly! all your pieces should look like this..

First I sew one side strip to the center triangle. Make sure you have little tips about ¼" at each end; these will be throughout the construction of this block.
Next little diamond to a side strip.

Then two little diamonds to each end of the third side strip.

So far you should have this...

Now we'll sew the side strip with the single diamond.

A little tip: I usually line up my sewing edges and then check to make sure my seams will match up at my ¼" seam allowance by just peeling back the edge as shown below.

Then finally the third side strip with two diamonds.

and then.... Voila!

when you put two together I see our diamond again. These can be sewn into rows making an easy straight seam quilt.

Happy quilting!

