Showing posts with label equilateral. Show all posts

Tuesday, June 10, 2014

Creating hexagons

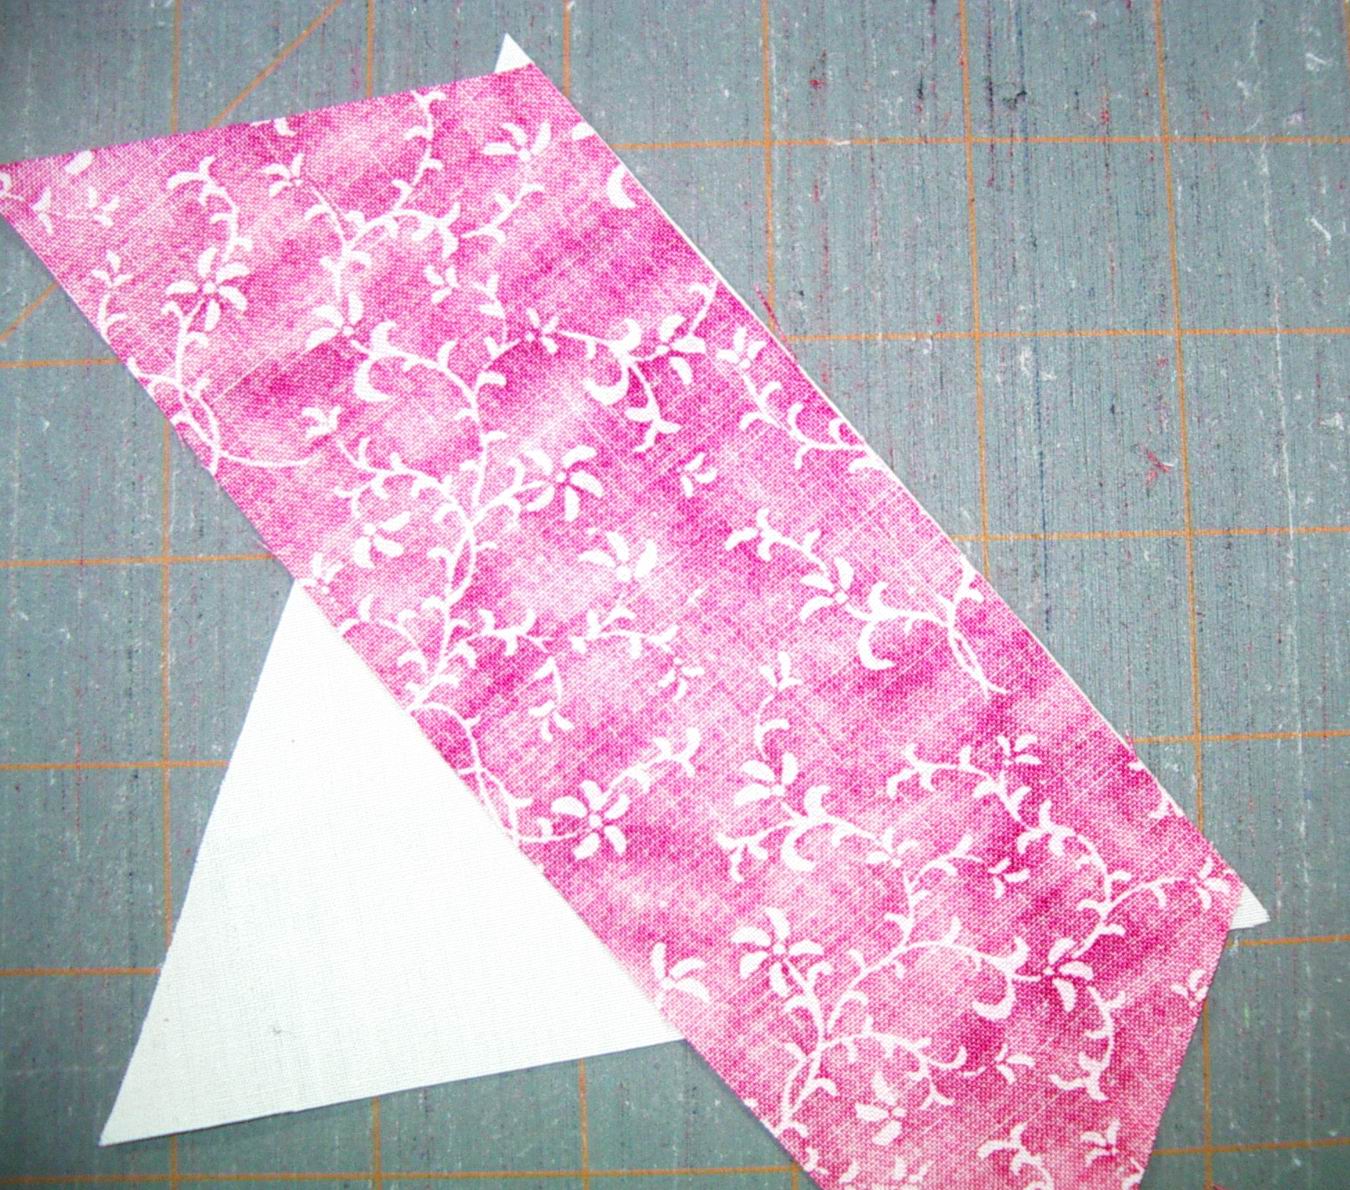
I wanted to make hexagons but didn't want to purchase yet another ruler. I have so many 2.5" strips laying around and wanted to use them in a project. So I decided to test my hexagon theory. With my equilateral triangle ruler I cut a triangle first and then a coordinating hexagon from some extra 2.5" strips that I had. 

My ruler has marks in yellow for finished triangles and marks to the side for the width of strip. I have pointed out these marks below. Your ruler should have one of these marks on it.


Since 2.5" strips sewn together equal 4" I put my strip on the 4" finished 4.5" cut line to create coordinating hexagons for my triangles. when sewn together they make the perfect 4.5" unfinished  equilateral triangles.
.

I'm sure with a little configuring that you could do the same with other strip widths. This ruler goes up to 6" finished triangles so you could probably do 3.5" strip widths to make the maximum size triangle.

Thanks for reading 

Tuesday, January 8, 2013

More Triangles

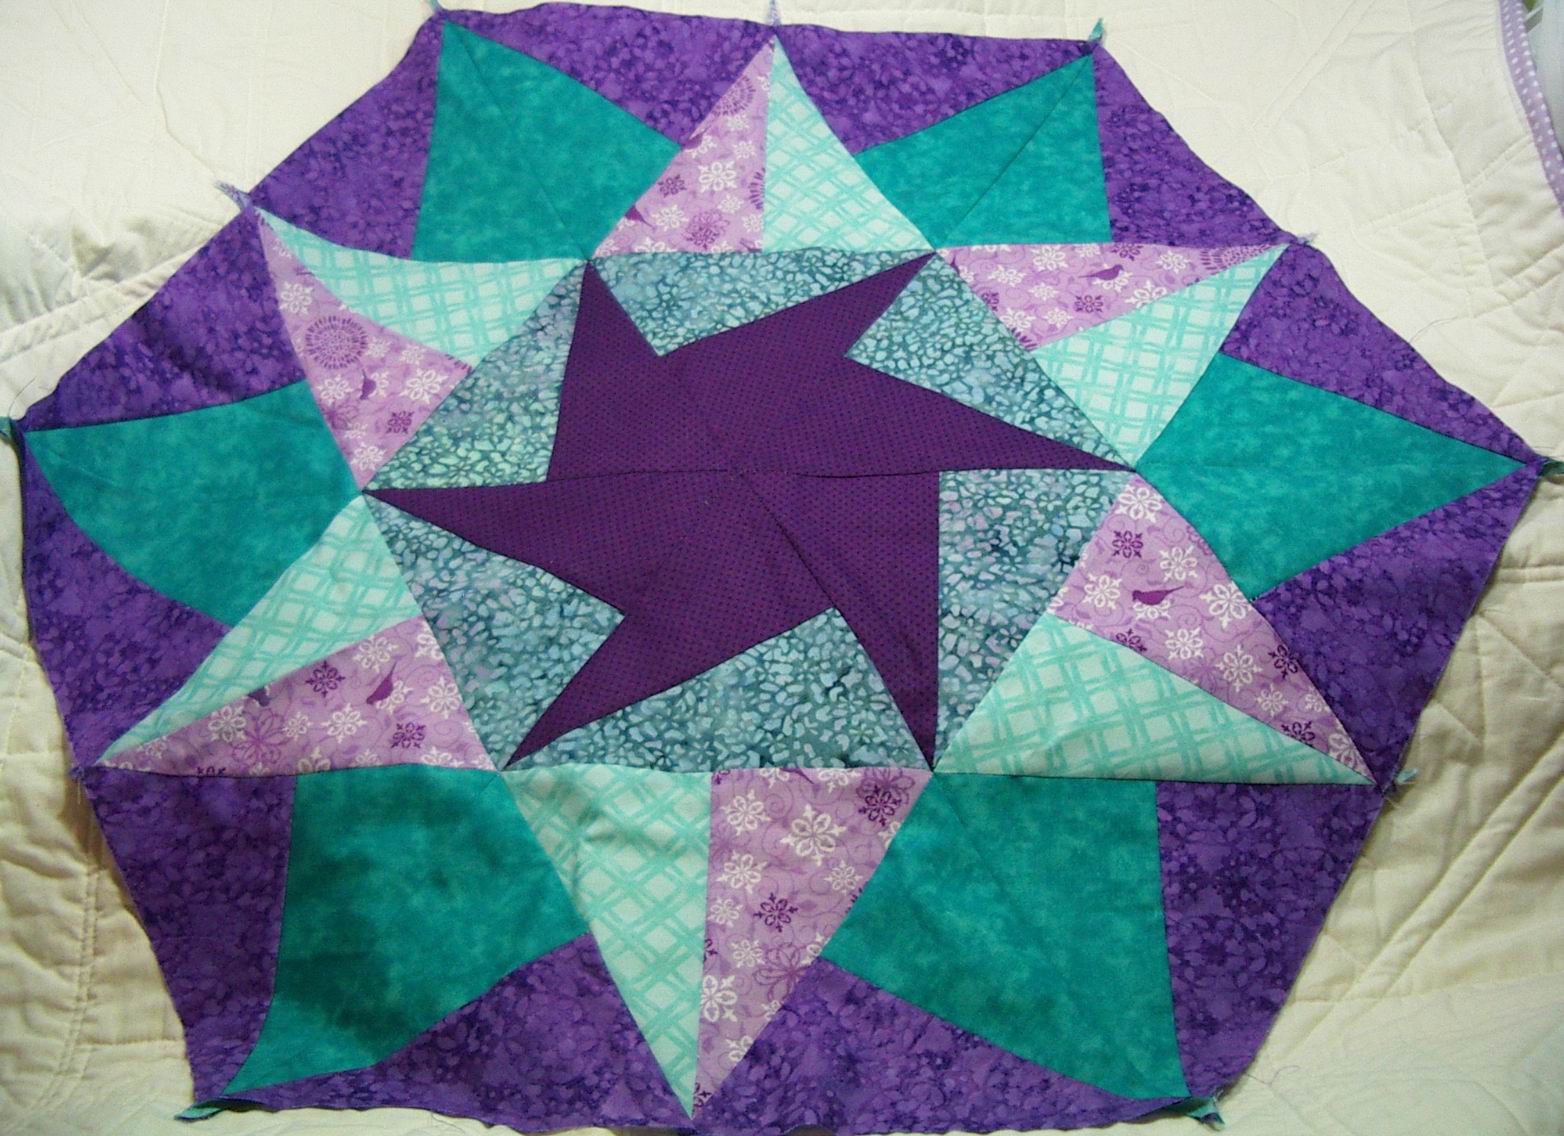
I have on my sewing block more equilateral triangles after stumbling across  this blog post (in Russian) and I thought wow this looks so cool I wonder how difficult it is and to my surprise not very. She's got great pictures which give you the gist of the block and when translated even better explanation on how to cut your triangles.
Here's how mine turned out from 2½" strips (we all have some of those right?)
 Here's a rough estimation of how the sizing turned out. This is my 12½" sq ruler and it pretty much fits that top to bottom but side to side it is about 2½" bigger tip to tip.
I liked how this turned out so much with these test scraps that I decided to try a bigger one this time I used fat quarters. I picked 6 different fabrics 3 purples and 3 teal/green. I ended up with quite a bit of left over material from the 4 inner fabrics but not much from the 2 outer fabrics. This could easily be a scrappy project just depending on how large you wanted to make it.
I cut 4½" wide strips out of my fat quarters I wanted to get the most I could out of each one remembering I am limited by the outer 2 colors.
This ended up measuring 27" from top to bottom and 31" tip to tip. Quite a bit bigger by just adding 2" to the size of my strips. This makes a great table topper size and even perhaps a small tree skirt. hmm.

If anyone it interested in a more detailed write up of how I put this together let me know in the comments. Otherwise happy sewing.
Thanks for reading♥

Sunday, April 1, 2012

Equilateral Triangles Part 2

I didn't realize when I posted yesterday that their would be a part 2, my mind got to thinking and more ideas came so I thought I should test out some more theories.

First I decided to add just strips (2½") all around the triangle. I figured that there must be some kind of simple math for figuring out the length of the side strips. At first I thought it was as simple as adding the amount of the little setting diamonds at the points 2½" unfortunately this was too much  by a ¼". So instead each side increased by 2¼" Making the side strips 8¼" , 10½" , and 12¾".
So this is how it turns out.  For these sides I tried my idea yesterday of folding my strips in half to cut both 60° angles at once. See below.
After making several of these I thought there must be a quicker easier less work way of doing this for chain sewing. So I took a long strip(making sure it was extra long since I was using scraps) and only trimmed my 60° angle at one end. Then I sewed it to my triangle starting with the 60° end; which would leave a big tail at the end of my single block but perfect if you wanted to sew several at once with a long strip of fabric.
Now I just took my ruler with the 60° angle marking on it and lined it up and cut. This was actually easier than cutting out each individual piece; which if you accidentally cut wrong could be devastating.

Now I know what you're thinking "kinda like a log cabin, right" I was thinking the same thing, triangle log cabins. So next I decided to try adding another ring of strips and it came out like this.
I think with different fabrics on each side it would have a more log cabin effect but I haven't tried this, not enough of the same scraps left to try. Another thing I noticed for all the math minds out there is that for the 4th and 5th strips added the strips were still increased by 2¼" making them 15" and 17¼". However with the 6th strip(and the final measurement of one side) it came out to 19 and 5/8" just 1/8" more than it would have been in the sequence. I think if you want to try and make a super triangle and just keep adding rings of strips to one base triangle then you better do the strip piecing method so you don't run into any shortages; because even an 1/8" can throw off your entire project by the end.

Thanks for reading♥

Saturday, March 31, 2012

Equilateral Triangle block Tutorial

I've seen many different variations of quilts using equilateral triangles and so I wanted to take a try at it. There's a little math involved but with some of the great quilting rulers out there we'll make it easy; to learn more about equilateral triangles go here.

First off you can make your triangles any size you want particularly if you just want to cut and sew a bunch of them together many people call this a thousand pyramids quilt. This is also a very simple tessellation.

Here's the block I'm going to show you.

For this block I'm starting with a 5" strip of fabric for my base(center) traingle which will make the sides of my triangle 5¾"
I found this ruler at Jo-Ann's it's not very big only goes up to 6"; of course you notice my 5" strip just fits between the lines so that's why I went with 5". Next you'll cut off the right edge using the ruler as your guide then cut at the 5" mark since our strip is only 5". This ruler creates your 60° angles; this process could be done with a long strip of fabric and a regular quilting ruler with the 60° mark.
Now we have a diamond, very familiar if you've made a lone-star or radiant star quilt.
Now we cut the diamond in half. Using a regular quilting ruler I lined the 60° at the top making sure my rulers edge was point to point(as shown) and then cut. Voila two equilateral triangles!
As I said before you could cut up a bunch of these(any size) and make a thousand pyramids quilt.
To make this bordered block I took strips of fabric(which could be any width) mine were 2½" wide because that's what I cut my scraps into. I cut my strips 8¼" long. For one block you need 3.
Next taking my handy 60° diamond ruler I cut each end.
To get the mirror image for the other side of the strip I flipped over my fabric wrong side up. I suppose you could have folded your strip in half and only had to cut once; I'll have to remember that when I make more.
Next I used a fabric similar to my center triangle for the little diamonds. these strips were also 2½" wide and I just used that handy 60° ruler again this time cutting every 2½" 

Now were ready for assembly! all your pieces should look like this..
First I sew one side strip to the center triangle. Make sure you have little tips about ¼" at each end; these will be throughout the construction of this block.
Next little diamond to a side strip. 
Then two little diamonds to each end of the third side strip.
So far you should have this...
Now we'll sew the side strip with the single diamond.
A little tip: I usually line up my sewing edges and then check to make sure my seams will match up at my ¼" seam allowance by just peeling back the edge as shown below.
Then finally the third side strip with two diamonds.
and then.... Voila!
when you put two together I see our diamond again.  These can be sewn into rows making an easy straight seam quilt.
Happy quilting!