Showing posts with label small quilt. Show all posts

Sunday, August 16, 2015

Quilty around the house - dresser runner


My dresser runner is complete!


I am so in love with this project. This is a good get your feet wet sewing some triangles kind of project. 

I want to make a queen size quilt using these fabrics and triangles and this was the perfect practice project. It also gave me an idea of sizing and how many rows and triangles across I will need for a queen size quilt.

I kept my quilting simple with this one, I wanted the triangles to be the stars of the show.


Thanks for reading♥

Sunday, August 9, 2015

Quilty around the house

I'm so excited to share with you another Quilty around the House project!

This time I am working with Triangles! I was so excited and nervous all at the same time about this project. I knew this would be a good way to refresh myself on the basics of triangle assembly and to date probably the biggest finished triangle project I have completed. Also I finally cut into all these beautiful purple and grey batiks I have been hoarding


Below you can see I have my rows sewn but I still have to sew them to each other. This small project is going to be a runner for the top of my dresser in my dressing room so I only have 4 rows of triangles to assemble. This should go quickly and then I'm ready to quilt.


I want to make a queen size of this for our guest bedroom and I think this small project will help me with estimating how many triangles I need for each row and how many rows I will need. Also how many triangles am I able to get from each width of fabric strip. So I have some math and figuring to do. I'm so excited with how this looks so far that I can't hardly wait. 

More pictures to come of my finished runner.

Thanks for reading♥

Wednesday, August 5, 2015

Quilt-y Around the House


One end table finished!


This is my first attempt at the quilting stitch known as pebbles so please be kind. My end tables are not terribly huge however this stitch took along time to complete on just the first one. Plus it took over 4 bobbins of thread. Luckily I have lots of the color I chose for these projects. I had no idea going in and once you've started it's like I'm gonna finish this.


Now after a rest, on to table topper number 2.

Thanks for reading♥


Sunday, July 26, 2015

Quilty around the house

For this "Quilty Around the House" edition I wanted to share the table toppers that I'm working on for the end tables downstairs.

Originally when I was planning and cutting I was leaning towards a more planned pairings for the blocks. However when I sat down to do the sewing I went all random. Below here's a few blocks that I did.


I haven't quilted my table toppers yet but here you can see I have the top finished and I've already laid out my backing and batting. I can't decide what quilt pattern I should use, loopy lines or some form of echoing and straight lines.


More pictures to come of the finished project.

Now time to get sewing...

Thanks for reading♥

Sunday, June 28, 2015

Project: End Tables

Here's a quick sneak peek at the next thing to hit my sewing table. I have all my pieces cut for this quick project now all I need is to find the time. Ha ha right! 
What I am sewing next is two small quilts designed to just fit on top of our end tables. They're antiques and this will protect the top as well as add a splash of color. I went with a very basic simple design because I didn't want anything too complicated after all we'll be setting lamps, coasters, books, remotes and whatever else on top of these. The finished quilts should measure 25½ by 20½. exactly the right size to cover the top. I will keep you updated on my progress....
Thanks for reading♥

Sunday, August 31, 2014

Little Love Notes

I finished! I had mentioned a little while ago I had several projects in the works and this little charmer was one of them. I saw Jenny Doan's You Tube video and simply had to make one. Too cute and I already had the fabric. I used some scraps I had laying around so my finished quilt is 30" square. I seem to like things square. Anyway I can't wait to display this next Valentines day.


Thanks for reading♥ Olivia

Wednesday, August 20, 2014

Simply Houndstooth

Wow I have been working hard on this and more pictures to come once I figure out how to get them off my phone. I'm posting my first pattern on crasfty! I'm so excited even though I am just getting my feet wet with this first small pattern. It's also free! I love free and am happy to share this with you. Last year I posted about how to put together a baby houndstooth quilt and I really wanted a fresh update on this.
If there are any questions about this pattern please ask I would love to help.

Here are some more pictures of my finished product. enjoy!


Thanks for reading♥ Olivia

Tuesday, July 8, 2014

Wedding Ring Bag


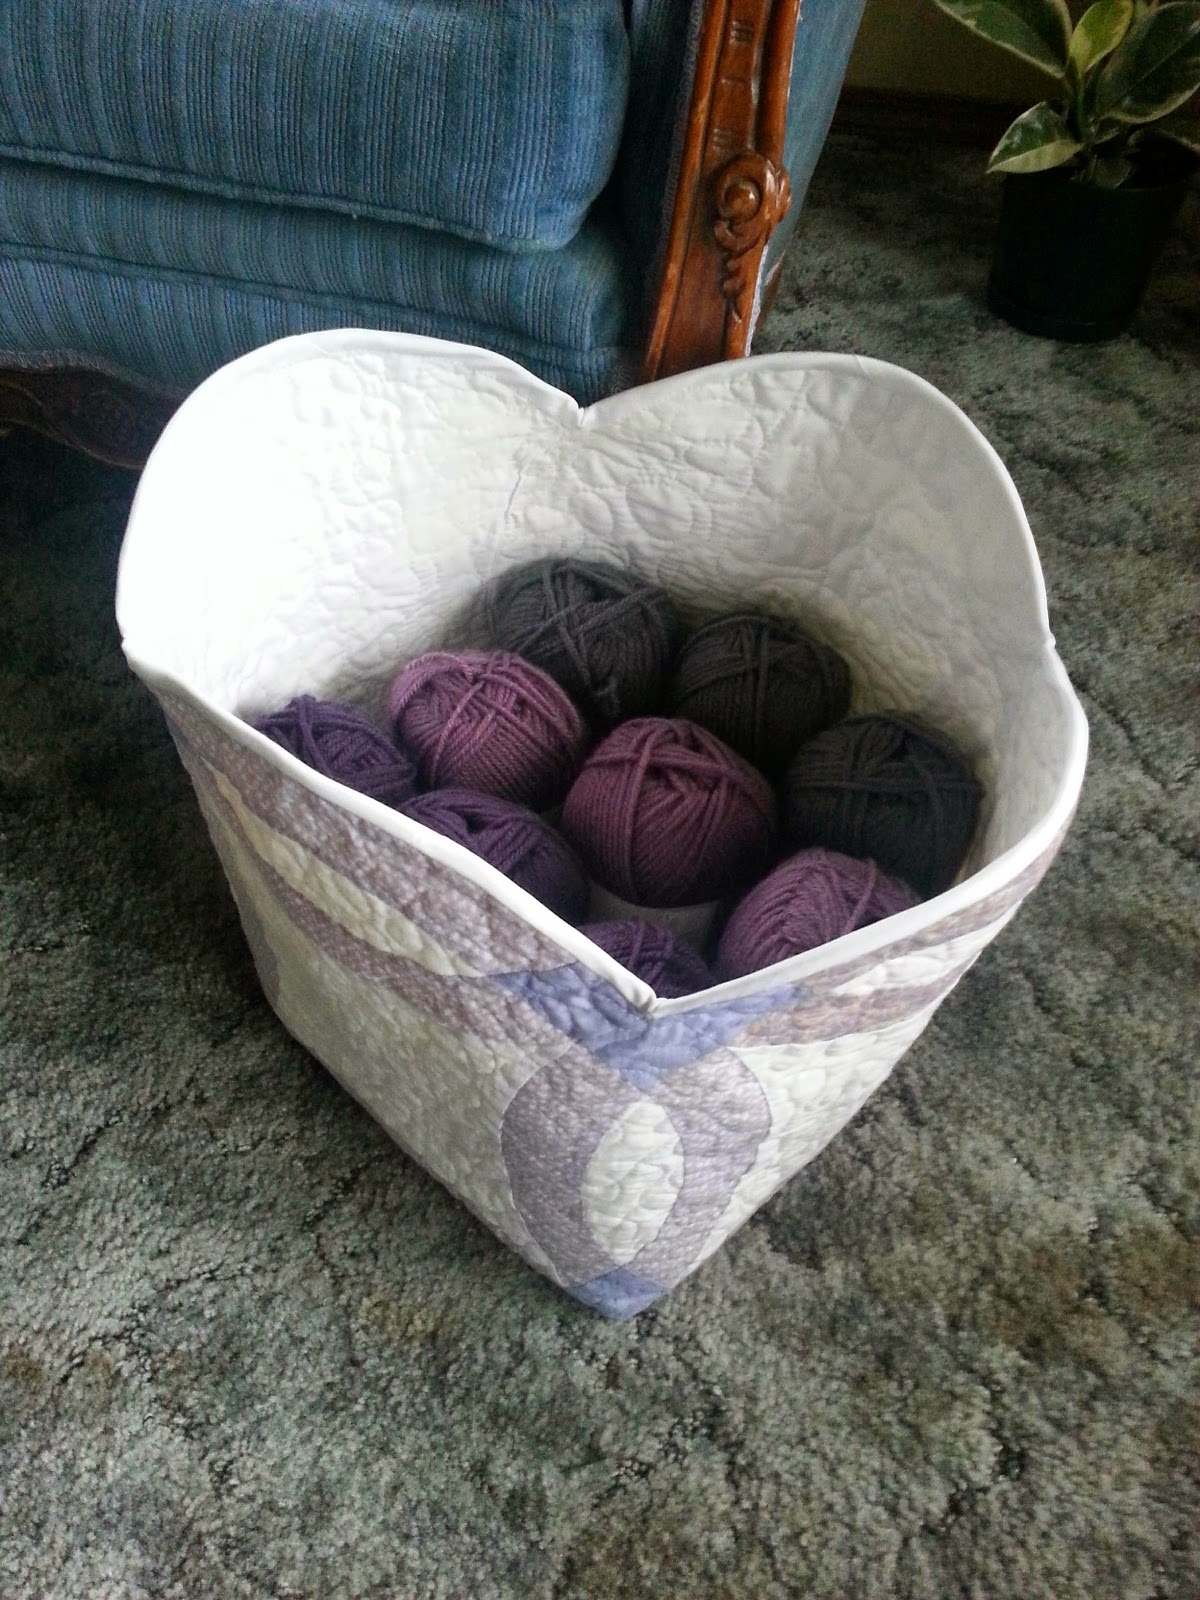
This started out from a picture a friend posted online. Many people liked it and soon a conversation was started. Obviously we had seeked out an original source and pattern and unfortunately it's from a book out of print and in Japanese. So we decided that we could figure it out. Seeing instantly it was basically a wedding ring quilt and some simple geometry to create the bottom. I set to figure out the construction with the help of my friend and fellow sewer.
Here's my construction below. Which is four connected wedding rings leaving an open end at the right to connect with the left side later. Also you'll notice that the bottom is quarter sections of the center of the wedding ring block (with a 1/4" seam allowance added). Now it could be there is a way to add the bottom as one whole block center but this is how it worked best for me plus I wanted to quilt my bag.

Here is my un-quilted sandwich laid out.
I must not have captured that I quilted the top leaving enough room on either end to connect my rings and make my bag a tube. 
Below I am sewing the bottom in sections and binding as I go for a more finished look.
I do two opposite sides first binding each.
Then I sewed the final seam along the bottom making sure the other two seams flipped opposite ways to avoid bulk.
Here is the inside bottom of my finished bag.
Here's a peek at the outside bottom. You can see the finished bottom is same as the center of the block.
I have bound it but not added handles.
Here it is again without handles, which I kinda like better than the final product which is with handles. Sorta makes a nice fabric bin. The first two photos I captured the bag with handles which I had just hand sewn on.
Very roomy as well holds lots of yarn, great for that afghan I'm working on.
What do you think? Would you want to try making one of these? Would you want another post with more step by step instructions? Or if you have any questions as to how this went together please leave a message in the comments.

Thursday, May 15, 2014

Cherry Table Runner

I love this block it's so simple and uses up a lot of scraps you could easily make an awesome quilt with this pattern. For this runner I did the equivalent of two blocks plus a partial on each end. I did not have enough of these scraps to make a full third block and I'm kinda glad I didn't. I really like how this turned out instead. I've been a bit obsessed lately with runners and place-mats lately as you can see from my pin board.
Also this is my second free motion quilting project! Yay!


Thanks for reading♥ Olivia

Tuesday, May 6, 2014

whirligig quilt

This Whirligig quilt was from an Eleanor Burns Pattern I loved making this I actually used scraps instead of full strips and this is only a small/baby quilt size but it was so much fun, someday I'll make one bigger. This has been sitting in my to be quilted pile for quite some time and after trying a few practice sandwiches I decided to quilt this free motion. This is my first completed free motion project. I was so excited by how this turned out that I had to share. I followed this guideline for how I was going to free motion quilt from Pinterest. There are some great tutorials and very encouraging words out there to beginners who want to give this a try. I can't believe it took me this long to take the plunge into free motion quilting.


Thanks for reading♥ Olivia

Sunday, May 12, 2013

Chevron yoga mat

Wow it may seem that I am finishing things quickly but some of these projects have been in the works for a while so I am not really that fast. Besides I like to take time and make things that are quality not quantity. Today I have finished my chevrons quilt (which I had intended for it to be a yoga/stretching mat) the final dimensions are 23½" x 51". I wanted this to actually be longer but since I was using scraps I went as far as they would take me. I am also thinking now that nicer weather has come our way this would be a nice sunbathing blanket perhaps the perfect fit for a lawn chair or chaise out on the patio.

Without further ado here is my quilt... these first pictures are before washing the quilt.
 I did a close up to show the detail of my machine binding I did.

 This shows the back, I used more of the scraps here.

These next photos are after I washed my quilt, it adds such a charming look to the finished product.

 here's the back again. I almost love it more than the front.


What do you do with your scraps? What kind of scrappy patterns are your favorites?
Thanks for reading♥ Olivia