Wow I have been working hard on this and more pictures to come once I figure out how to get them off my phone. I'm posting my first pattern on crasfty! I'm so excited even though I am just getting my feet wet with this first small pattern. It's also free! I love free and am happy to share this with you. Last year I posted about how to put together a baby houndstooth quilt and I really wanted a fresh update on this.
If there are any questions about this pattern please ask I would love to help.
Here are some more pictures of my finished product. enjoy!
Thanks for reading♥
Olivia
Showing posts with label free tutorial. Show all posts
Wednesday, August 20, 2014
Thursday, April 18, 2013
How to join your binding ends on a quilt top
Wow I've finished my quilting on my small chevron quilt and now I'm ready to put on the binding. It feels good to be getting a project done even if it is small. I used some of the purple with white dot material that I had already cut into bias binding, so far this binding will have completed 3 projects and there's still quite a bit more left. While I was putting on the binding I was thinking I wanted the join to also be at an angle like all of my other binding seams. This has never really bothered me, but I was thinking it would be nice to hide the join. After all, how hard could it be?
First off if you have never sewn on your binding before you want to make sure you have some extra length and you will start off somewhere usually in the middle of a side and leave a tail of binding say about 10-15" (this really doesn't have to be exact . Sew all the way around again leaving a tail about 10-15", your tails should be something like this below. Basically you just need enough extra on both ends to overlap each other about 3-5" (more is always good)
As you can see I have plenty of overlap this is better than not enough, the more quilts you do the better you'll be able to judge this. Next I will be laying my binding tails even my quilt edge and on top of one another. In the picture below I staggered them slightly to show you where they overlap.
We are going to trim this to a ¼". Below I've lined up my fabric and placed my ruler ¼" to the right of where the two fabrics meet (as I've shown above). I mark this with my pencil. As you can see I used the 45° angle on my ruler to make sure my line would also be 45°.
Thanks for reading♥ Olivia
First off if you have never sewn on your binding before you want to make sure you have some extra length and you will start off somewhere usually in the middle of a side and leave a tail of binding say about 10-15" (this really doesn't have to be exact . Sew all the way around again leaving a tail about 10-15", your tails should be something like this below. Basically you just need enough extra on both ends to overlap each other about 3-5" (more is always good)
As you can see I have plenty of overlap this is better than not enough, the more quilts you do the better you'll be able to judge this. Next I will be laying my binding tails even my quilt edge and on top of one another. In the picture below I staggered them slightly to show you where they overlap.
We are going to trim this to a ¼". Below I've lined up my fabric and placed my ruler ¼" to the right of where the two fabrics meet (as I've shown above). I mark this with my pencil. As you can see I used the 45° angle on my ruler to make sure my line would also be 45°.
Next you'll open up your binding you just marked with your pencil and continue marking your line.
Next I place my ruler on the pencil line, again using the 45° line to make sure my cut is perfect and cut.
Now I lay my bindings even again with the edge of my quilt and make sure they have a ¼" overlap.
Next we can sew them together. I open up both ends and put them right sides together(as shown below), leaving a ¼" triangle overhang on both sides. Then sew a ¼" seam.
Now you can line up your binding with your quilt edge once again and finish sewing it down. Now all your seams are going at a 45° angle and no one will know where you binding started and stopped.
How do you finish your quilts?
Thanks for reading♥ Olivia
Thursday, April 11, 2013
How to make mitered corners for a quilt border.
I've been working on a really big project and I wanted to try mitered corners again, I've done them once before but for some reason haven't since. I thought I would share with you how I miter my corners in the borders of my quilt.
First off you will determine the width you want your border(s) to be I did 2 borders one 3" and the other 6" this makes my finished borders 9". Next you'll need to figure out how long you need to cut these borders. My quilt before the borders is 72" you will add 2x the width of your borders plus 2. so I will add 72 + 9 + 9 +2 = 92. This formula does not allow for error so if you are concerned about that you may want to buffer it a little with a few extra inches.
Next sew your border fabrics together...
Thanks for reading♥
First off you will determine the width you want your border(s) to be I did 2 borders one 3" and the other 6" this makes my finished borders 9". Next you'll need to figure out how long you need to cut these borders. My quilt before the borders is 72" you will add 2x the width of your borders plus 2. so I will add 72 + 9 + 9 +2 = 92. This formula does not allow for error so if you are concerned about that you may want to buffer it a little with a few extra inches.
Next sew your border fabrics together...
here's my borders sewn together.
Next you'll want to fold your border strip in half width wise to get the center. Below you can see I ironed this spot to mark it, but you could mark with a pencil.
Then I lay that fold(or mark) on the center line of my quilt. Since my project is 6 blocks by 6 blocks I simply match my mark to the seam where block 3 and 4 join.
Now I pin from that center mark outward.
You will now sew on one side of your borders. Make sure that when you are sewing on the borders that you leave a generous ¼" at the beginning and end where it attaches to the quilt Note your border strips will hang over the edges of your quilt. Mine hangs over about 10" that's part of the extra 9 + 9 + 2 that we added.
Remember your overhang will be different depending on the width of your borders.
Below is a quick photo of the ¼" space I left before starting my sewing remember to leave this at the beginning and end. Do this for all sides of your quilt.
Now when you have finished sewing on all your borders find a corner and line up your borders by taking 2 sides and placing them right sides together lining up your border fabrics. See below.
You will have to fold the main body of the quilt at a 45° angle. You can also see this with the ruler I used the diagonal line in this square ruler to help me mark the 45° angle in the border section. You will then sew along your marked line.
Cut ¼" away from your sewing line and open up your corner, it should look something like this.
Voila a mitered corner.
Thanks for reading♥
Monday, January 21, 2013
Circle Pouch Tutorial
I'm not sure what to call this project, I titled the post "Circle Pouch" because essentially that's what it is. However you can use it for all kinds of things, I made mine for my ear buds but this could easily be a handy coin purse, chap-stick holder really whatever small thing you can think of.
For this project I used scraps from another project and I made some small mini quilt pieces(see below). I wanted my cut circle to be about 5" so I made one square at about 5½" and made two rectangles at about 3 x 6" these measurements need not be exact but at least as big as your circle template.
For my circle template I couldn't find an object to my size liking so I decided to quick make my own using the trusty old protractor to make a circle 5".
I decided to mark my circle with glow line tape because I really wanted to center the pinwheel design I created but this is optional.
Now to cut out the second circle for this step you will want to make sure your zipper is in the middle of the circle. (it would be a good idea at this time to tack down the zipper at either end preferably before you cut your circle) I didn't do this of course but next time I would.
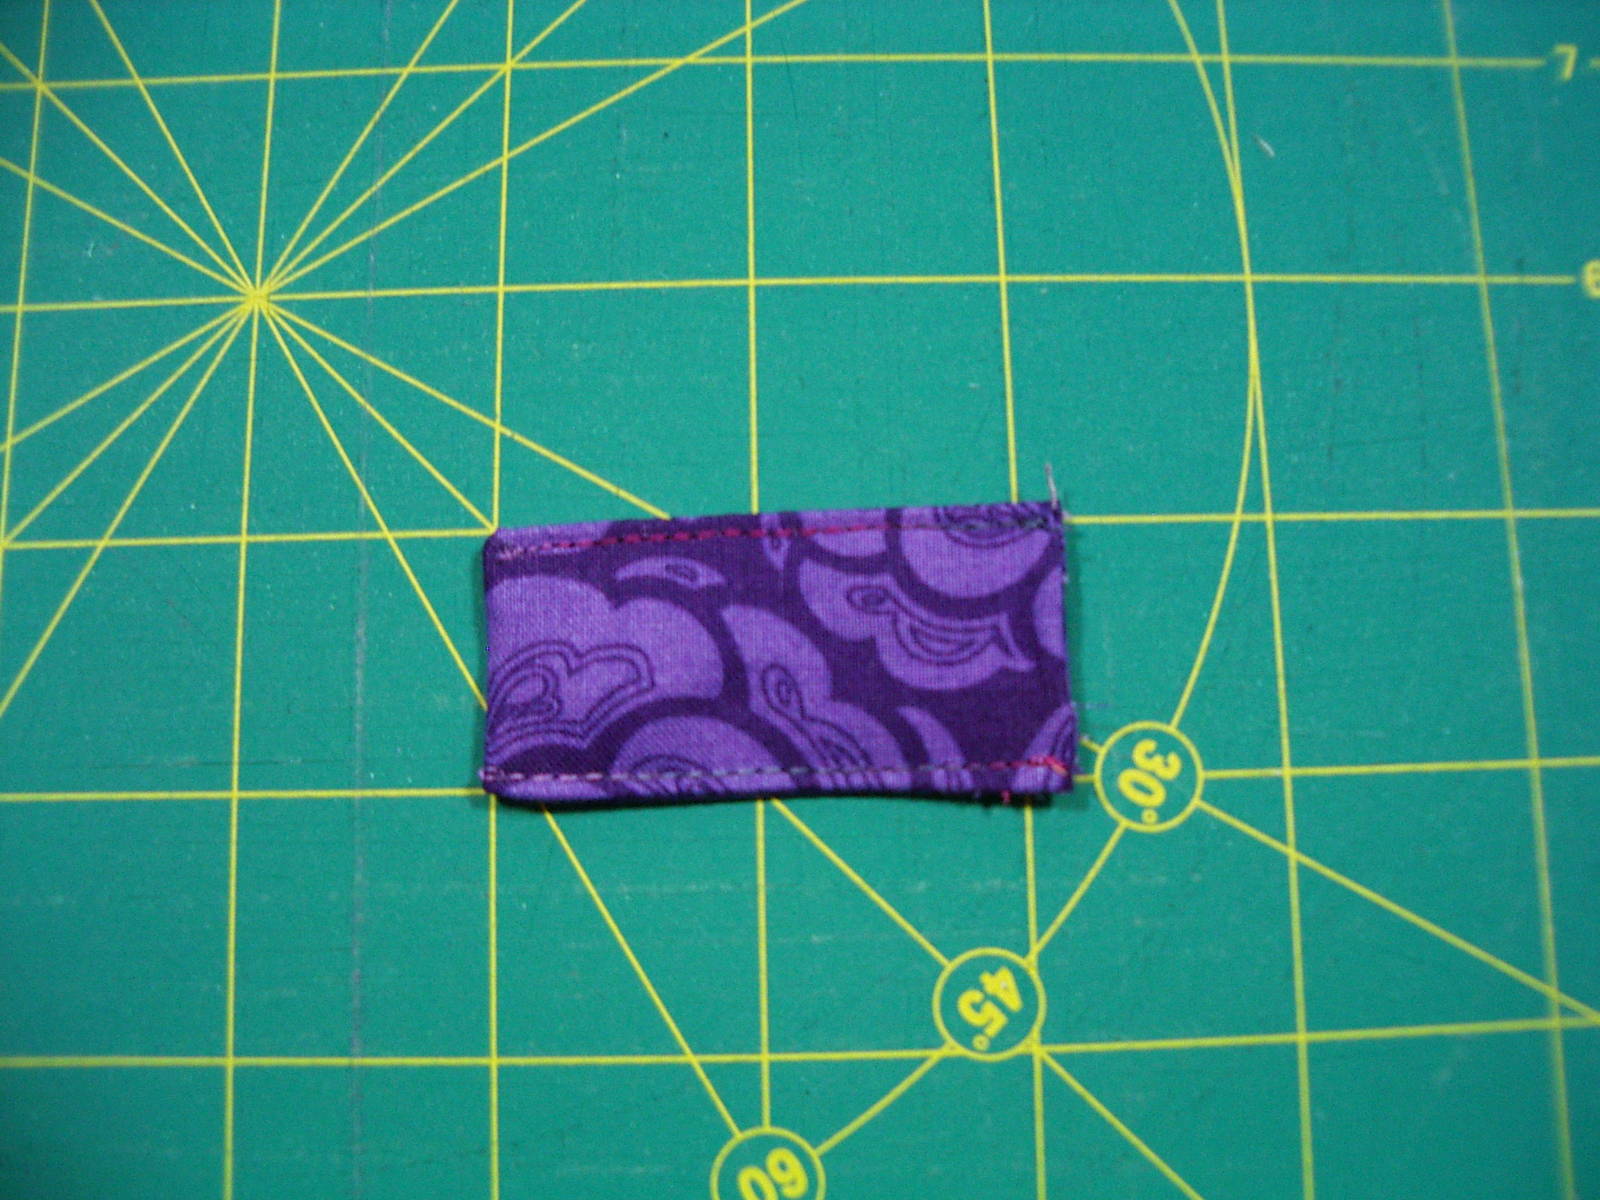
Next I made a small tab about 1 x 2" finished.
I slipped a split ring on, folded the tab in half, and pinned in place. ( would recommend tacking down that split ring tab and removing the pins for the next step)
Now to sandwich the 2 pieces right sides together.
Sew all around your circle...
Next I carefully clipped my seam all the way around, and turned my project right side out.
Finally I topped stitched the outside edge to give it a nice finished look.
enjoy!
Thanks for reading♥
For this project I used scraps from another project and I made some small mini quilt pieces(see below). I wanted my cut circle to be about 5" so I made one square at about 5½" and made two rectangles at about 3 x 6" these measurements need not be exact but at least as big as your circle template.
For my circle template I couldn't find an object to my size liking so I decided to quick make my own using the trusty old protractor to make a circle 5".
I decided to mark my circle with glow line tape because I really wanted to center the pinwheel design I created but this is optional.
I cut out my circle and then went to work on the other side. I started by attaching the zipper.
And then top stitching it down. This is important so the zipper doesn't catch and it gives it a nice finished look.Now to cut out the second circle for this step you will want to make sure your zipper is in the middle of the circle. (it would be a good idea at this time to tack down the zipper at either end preferably before you cut your circle) I didn't do this of course but next time I would.
Next I made a small tab about 1 x 2" finished.
I slipped a split ring on, folded the tab in half, and pinned in place. ( would recommend tacking down that split ring tab and removing the pins for the next step)
Now to sandwich the 2 pieces right sides together.
Sew all around your circle...
Next I carefully clipped my seam all the way around, and turned my project right side out.
Finally I topped stitched the outside edge to give it a nice finished look.
enjoy!
Thanks for reading♥
Sunday, April 1, 2012
Equilateral Triangles Part 2
I didn't realize when I posted yesterday that their would be a part 2, my mind got to thinking and more ideas came so I thought I should test out some more theories.
First I decided to add just strips (2½") all around the triangle. I figured that there must be some kind of simple math for figuring out the length of the side strips. At first I thought it was as simple as adding the amount of the little setting diamonds at the points 2½" unfortunately this was too much by a ¼". So instead each side increased by 2¼" Making the side strips 8¼" , 10½" , and 12¾".
So this is how it turns out. For these sides I tried my idea yesterday of folding my strips in half to cut both 60° angles at once. See below.
After making several of these I thought there must be a quicker easier less work way of doing this for chain sewing. So I took a long strip(making sure it was extra long since I was using scraps) and only trimmed my 60° angle at one end. Then I sewed it to my triangle starting with the 60° end; which would leave a big tail at the end of my single block but perfect if you wanted to sew several at once with a long strip of fabric.
Now I just took my ruler with the 60° angle marking on it and lined it up and cut. This was actually easier than cutting out each individual piece; which if you accidentally cut wrong could be devastating.
Now I know what you're thinking "kinda like a log cabin, right" I was thinking the same thing, triangle log cabins. So next I decided to try adding another ring of strips and it came out like this.
I think with different fabrics on each side it would have a more log cabin effect but I haven't tried this, not enough of the same scraps left to try. Another thing I noticed for all the math minds out there is that for the 4th and 5th strips added the strips were still increased by 2¼" making them 15" and 17¼". However with the 6th strip(and the final measurement of one side) it came out to 19 and 5/8" just 1/8" more than it would have been in the sequence. I think if you want to try and make a super triangle and just keep adding rings of strips to one base triangle then you better do the strip piecing method so you don't run into any shortages; because even an 1/8" can throw off your entire project by the end.
Thanks for reading♥
First I decided to add just strips (2½") all around the triangle. I figured that there must be some kind of simple math for figuring out the length of the side strips. At first I thought it was as simple as adding the amount of the little setting diamonds at the points 2½" unfortunately this was too much by a ¼". So instead each side increased by 2¼" Making the side strips 8¼" , 10½" , and 12¾".
So this is how it turns out. For these sides I tried my idea yesterday of folding my strips in half to cut both 60° angles at once. See below.
After making several of these I thought there must be a quicker easier less work way of doing this for chain sewing. So I took a long strip(making sure it was extra long since I was using scraps) and only trimmed my 60° angle at one end. Then I sewed it to my triangle starting with the 60° end; which would leave a big tail at the end of my single block but perfect if you wanted to sew several at once with a long strip of fabric.
Now I just took my ruler with the 60° angle marking on it and lined it up and cut. This was actually easier than cutting out each individual piece; which if you accidentally cut wrong could be devastating.
Now I know what you're thinking "kinda like a log cabin, right" I was thinking the same thing, triangle log cabins. So next I decided to try adding another ring of strips and it came out like this.
I think with different fabrics on each side it would have a more log cabin effect but I haven't tried this, not enough of the same scraps left to try. Another thing I noticed for all the math minds out there is that for the 4th and 5th strips added the strips were still increased by 2¼" making them 15" and 17¼". However with the 6th strip(and the final measurement of one side) it came out to 19 and 5/8" just 1/8" more than it would have been in the sequence. I think if you want to try and make a super triangle and just keep adding rings of strips to one base triangle then you better do the strip piecing method so you don't run into any shortages; because even an 1/8" can throw off your entire project by the end.
Thanks for reading♥
Subscribe to:
Posts (Atom)