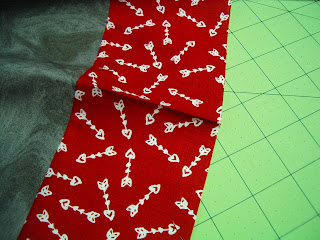
First off if you have never sewn on your binding before you want to make sure you have some extra length and you will start off somewhere usually in the middle of a side and leave a tail of binding say about 10-15" (this really doesn't have to be exact . Sew all the way around again leaving a tail about 10-15", your tails should be something like this below. Basically you just need enough extra on both ends to overlap each other about 3-5" (more is always good)
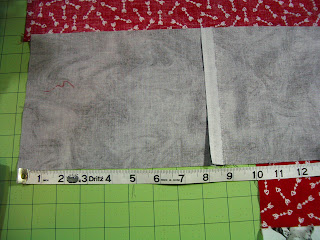
As you can see I have plenty of overlap this is better than not enough, the more quilts you do the better you'll be able to judge this. Next I will be laying my binding tails even my quilt edge and on top of one another. In the picture below I staggered them slightly to show you where they overlap.
We are going to trim this to a ¼". Below I've lined up my fabric and placed my ruler ¼" to the right of where the two fabrics meet (as I've shown above). I mark this with my pencil. As you can see I used the 45° angle on my ruler to make sure my line would also be 45°.
Next you'll open up your binding you just marked with your pencil and continue marking your line.
Next I place my ruler on the pencil line, again using the 45° line to make sure my cut is perfect and cut.
Now I lay my bindings even again with the edge of my quilt and make sure they have a ¼" overlap.
Next we can sew them together. I open up both ends and put them right sides together(as shown below), leaving a ¼" triangle overhang on both sides. Then sew a ¼" seam.
Now you can line up your binding with your quilt edge once again and finish sewing it down. Now all your seams are going at a 45° angle and no one will know where you binding started and stopped.
How do you finish your quilts?
Thanks for reading♥ Olivia


